Setting Up a Home Coffee Station That Fits a Real Counter
Morning coffee shouldn't start with a scavenger hunt. Machine, grinder, beans, and mugs in one arm's-reach zone — in 24 inches of counter, or on a cart with none at all.
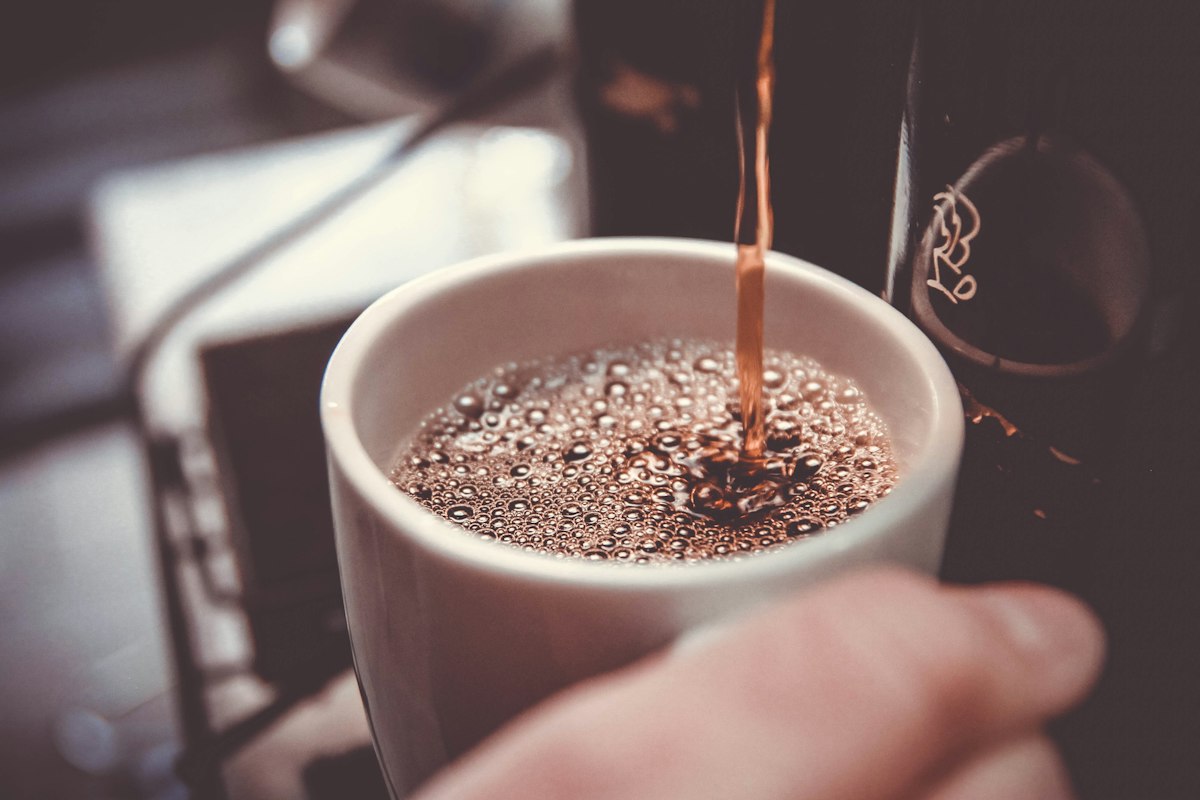
The home coffee station usually happens by accident. The machine lands wherever the box was opened, the mugs colonize the nearest cabinet, filters live in a different room from the beans, and within a month your morning coffee requires a small scavenger hunt across the kitchen — all before caffeine.
A deliberate station fixes this in an afternoon, and it does not require a renovation or a café budget. It requires one decision: everything coffee lives within arm's reach of the machine, or it does not belong to the station.
Here is how to build one that fits a real counter — including the small, crowded kind — based on product specifications and what coffee households say still works after a year of mornings.
The short version
- The station is a zone, not a product: machine, water, beans, filters, mugs, and a knock-or-dump solution in one contiguous stretch of counter.
- A typical functional footprint is 24–30 inches of counter width; less than that, go vertical with a shelf or cart.
- The most overlooked essentials: a tray or mat under everything (defines the zone, catches the mess), a scale if you brew manually, and a small bin within reach for grounds and filters.
- Buy the machine for your actual drink: espresso households and drip households need different stations entirely.
- If under-cabinet clearance is under 18 inches, measure machines with the lid or water tank open — top-loading designs are the usual casualty.
What to look for
- Water logistics. A machine is only convenient if refilling it is. Front-access or removable tanks beat fixed rear tanks shoved under cabinets. If you brew daily, this single spec decides your happiness.
- Counter depth. Standard counters are about 25 inches deep; many espresso machines plus a knock box and mug tree consume most of it. Sketch your layout with painter's tape before buying anything new.
- Heat and steam clearance. Espresso steam wands and drip-machine steam vents need breathing room and should not live under low wooden cabinets they will slowly damage.
- Grinder placement honesty. Fresh grinding is the biggest flavor upgrade in home coffee — and the messiest. A grinder with a decent catch cup, parked on the tray, keeps grounds from colonizing the whole counter.
- Power access. Stations collect plugs. One visible power strip behind the zone beats cords draped across the sink area (and if the sink corner is its own project, see our kitchen sink organization guide).
- A landing spot for the cup. Coffee gets made in a half-awake state; give the mug a designated spot on the tray that is not in the steam path.
Bambino Espresso Machine
A compact espresso machine with a fast-heating ThermoJet system and automatic microfoam — near-café results in one of the smallest footprints in its class.
- ThermoJet heating — ready in about 3 seconds
- 54mm portafilter with dual-wall baskets for beginners
- Automatic steam wand for textured milk
- + Genuinely small counter footprint
- + Forgiving for new espresso makers
- + Fast heat-up suits weekday mornings
- – No built-in grinder — budget for one
- – 54mm accessories are brand-specific sizing
Encore Conical Burr Coffee Grinder
The long-standing default home grinder: 40 grind settings covering drip, pour-over, and French press, with a maker famous for selling spare parts instead of replacements.
- 40mm conical burrs, 40 grind settings
- Simple front pulse button and side dial
- Replacement parts widely available from the maker
- + Consistent grounds for all brew methods except fine espresso tuning
- + Repairable rather than disposable
- + Compact vertical footprint
- – Not the pick for precision espresso grinding
- – Static can scatter fine grounds
Stagg EKG Electric Gooseneck Kettle
A precision gooseneck kettle with to-the-degree temperature control and a hold mode — the pour-over upgrade that also serves the whole station's hot-water needs.
- Variable temperature control, 135–212°F
- 60-minute hold mode
- Counterbalanced handle for controlled pours
- + Slow, precise pour for even extraction
- + Looks at home on a styled station counter
- + Fast heating for its size
- – 0.9-liter capacity suits small households
- – Premium price for a kettle
Three layouts that work in real kitchens
The straight counter run suits most homes: machine at one end near the water source, grinder beside it, mugs on a small tree or rail above, beans and filters in the cabinet directly overhead. Everything reads left to right in the order you use it at 6:45am, which is precisely when your brain wants zero decisions.
The cart station is the small-kitchen escape hatch: a rolling kitchen cart (or even a sturdy bar cart) holds machine, supplies, and mugs, parks against any wall or in a pantry, and frees the counter entirely. Look for a top tier sized to your machine's footprint, a lower shelf for beans and filters, and locking casters so the morning routine does not roll away. This approach pairs well with the footprint discipline in our small appliances worth counter space audit.
The cabinet-integrated station hides everything behind doors in kitchens with a suitable tall cabinet or appliance garage: machine on a pull-out shelf, supplies in a drawer beneath. It is the cleanest look and the most demanding install — power inside the cabinet and ventilation for steam are the non-negotiables.
The small things that make it feel finished
A station works because of its B-team: a tray or silicone mat that visually contains the zone and makes the weekly wipe-down a two-minute job; an airtight canister that keeps beans near the grinder instead of in a far pantry; a knock box or small countertop compost caddy so used grounds never travel dripping across the kitchen; and one shelf or rail that lifts mugs off the counter plane entirely. Households that brew seriously add a compact scale and a gooseneck kettle for pour-over — the kettle, parked at the station, also quietly serves tea and everything else, which is how it justifies itself.
Morning-you is the least capable person in your household. Design the station for them.
Keeping it clean without a rota
Coffee stations fail slowly, through residue, not clutter. Build the reset into the routine: grounds out daily, drip tray rinsed when it is emptied, machine descaled on the maker's schedule for your water hardness (typically every 2–3 months), grinder brushed out weekly, canister washed between bean bags so old oils do not season the new roast. Ten scattered minutes a month is the entire maintenance burden of a station that still looks intentional in year two.
FAQ
How much counter space does a coffee station really need?
Plan for 24–30 inches of width for a machine, grinder, and mug storage in a straight run. Depth is the tighter constraint — espresso setups with a knock box in front can claim the full 25-inch counter depth. Smaller spaces should go vertical (shelf above) or use a cart.
Is a separate grinder worth it?
For drip and pour-over, a decent burr grinder is the single biggest flavor improvement most households can make — ahead of a fancier brewer. For espresso, the grinder matters even more and should get a serious share of the budget. Pre-ground coffee in a great machine will lose to fresh-ground in a modest one.
Where should I store beans?
In an airtight, opaque canister at room temperature, near the grinder, in the quantity you will use within a few weeks. Skip the freezer for daily-use beans — repeated in-and-out invites condensation. Buy bag sizes that match your pace.
Can a coffee station work in a kitchen with almost no counter?
Yes — the cart layout exists precisely for this. A 24-inch rolling cart with two tiers holds a compact machine, canister, filters, and a mug rail, and can park in a hallway, pantry, or dining corner with an outlet. The station is a zone of things together, not a specific counter.